
Long ago, during my school days, paati used to make this whenever she boils milk and it turns curdled. I never liked her idea of making palkova from curdled milk. But finally I give up some of my stubborness & ego & do have a few spoonfuls of it :P It tastes good too.
After some days, we somehow gave up this way of making palkova & switched over to the below proper version.
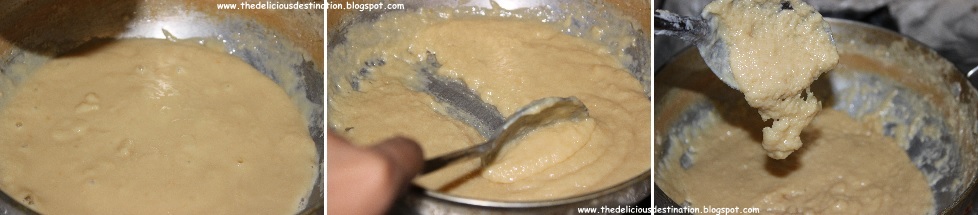
Patience is one of the must-have ingredient for a successful palkova without ready-made condensed milk. It took me about 1 hour to get the end product successfully. Unable to stand for such a long time, I pulled in a high-chair and settled down with a bottle of drinking water and a laddle to stir, with the camera hanging around my neck :P It was definitely a funny sight for anyone who came into the kitchen. But, such a patiently made palkova got over within 2 days !!!
And one very important pre-condition as per me is to talk a deal with someone at home & bribe someone with additional spoons of palkova, so that they can scrub & clean the kadai for you, after palkova is made :D
Cook Time: 1 hour || Yields: 2 cups (in the cup used to measure milk) || Category: Sweets / Milk Sweets
Ingredients:
1. Milk - 8 cups (I used 2% fat milk)
2. Sugar - 1 & 3/4 cups
Method:
1. Measure and pour the required quantity of milk in a heavy bottomed kadai / metallic pan. Keep the flame in high & let the milk boil.


Suggestions:
- I prefer this palkova to be plain & raw with just these 2 ingredients. If you wish, you can add condensed milk in addition to milk.
- Adding condensed milk will reduce the process time.
- Depending on the amount of condensed milk added, remember to reduce the quantity of milk & sugar.
- This version of palkova will not be ideal for shaping them as pedas. For that using condensed milk gives a better form to handle. This version is perfect for a cup & spoon kind of serving.

No comments:
Post a Comment